I decided to back-track a bit and re-do part of the fuselage to better balance the model, and to further strengthen the wings, and to try to attach an electric motor to the shaft that drives the propellers.


.JPG)


.JPG)
I now had about 75% of the model complete. As I was still figuring out the details of the landing gear, I took a few minutes to have a little fun with this project (as if I wasn't already having fun at this point, right?).
I cleared all the loose pieces off my work table and laid down a mock-up of an airstrip - with a full flight crew and ground team to go along with it. The crew was kind enough to allow me to snap a few photos as they went about their business.


.JPG)


.JPG)
.JPG)
.JPG)
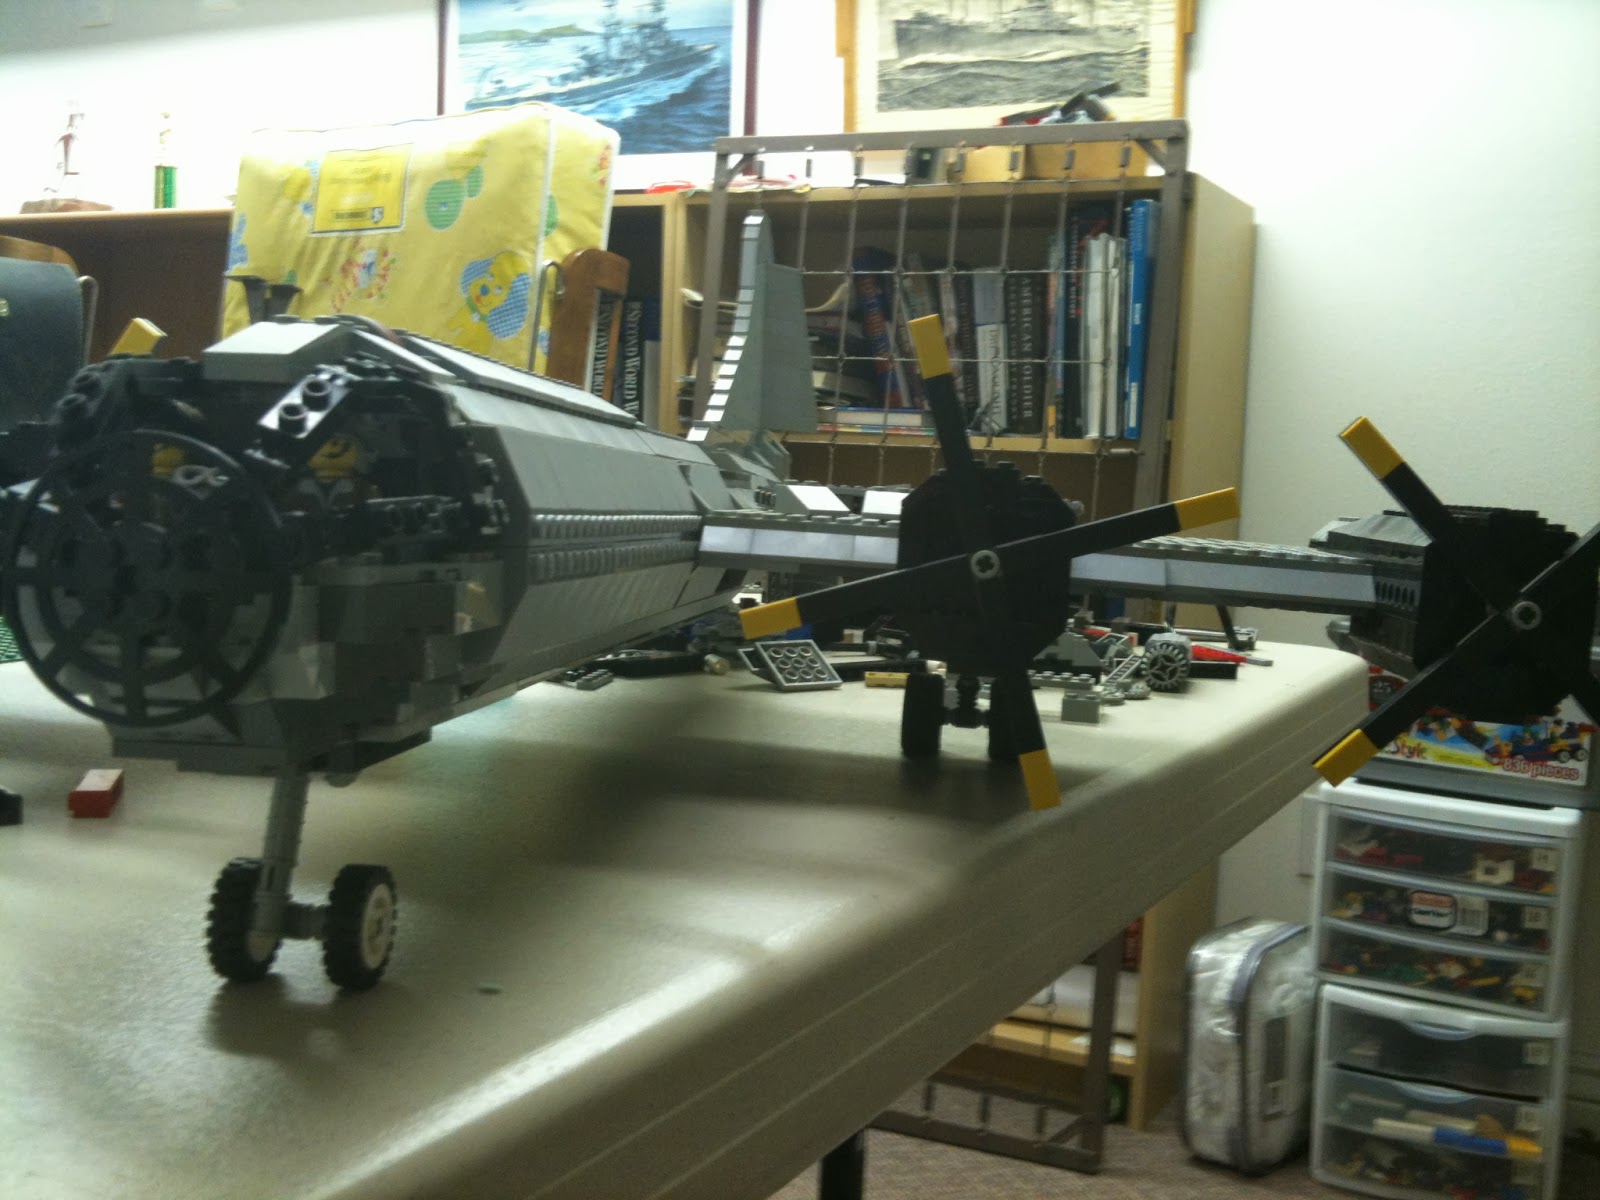
After completing the fuselage and the wings, I now had to return to the issue of the landing gear. Again, I still wanted to make them retractable and that proved to be the most difficult requirement. I also had to work around the existing wing structure and wheel bays so I didn't have a lot of wiggle room. And, of course, I had to make them strong enough to hold the weight of the model, so it could roll freely on the table. Here's what I had to work with:


.JPG)
After trying a lot of different methods, I finally came up with a mechanism that worked perfectly. It was strong, streamlined...
.JPG)
.JPG)
I added a piece that allowed the landing gear to snap into place when retracted and when lowered. When lowered, the springs were totally compressed due to the weight of the model, and when retracted, the spring was expanded, so I had to place the wheels just right in order to accommodate both positions.

I finally mastering the landing gear. Now I had to find a way to make the propellers work. It just wouldn't be the same without them, and it would add a lot to the model. I didn't want to settle for a half-working model. So, I decided to tackle the propellers again.
Once again, I removed much of the fuselage and tried to take a new approach to inserting the motor and battery pack. After a lot of tinkering and thinking (like I did with the landing gear) I finally came up with a way to make it work - and I was able to include a switch to easily turn it on and off. Here is a video of it in the early stages of testing:
Once all of this was done, I was then free to add details and make any modifications I wanted. For example, I took off the roof of the front of the model to build out the navigator's seat, just behind the cockpit.
I'll keep you posted with more pictures of the aircraft and it's crew in Part 3.
Estou esperando a parte 3...
ReplyDelete